
How to install your Vitalitree
Thank you for purchasing a Vitalitree! Here’s a quick installation guide to ensure you’re set up for success. We’ve specifically designed the Vitalitree to be easy to install and quick to erect so rest assured this is a simple process however visuals can be helpful. If you have any site-specific queries, flick us a message via paul@vitalitree.co.nz or give us a bell on 0272747314 and we’ll guide you as best we can.
First things first, grab your supplies! You’ll need:
· Your Vitalitree
· Y-Posts (2 for the VT-800 or 3 for the VT-1200)
· Clips (6 for the VT-800 or 12 for the VT-1200)
· 1 bamboo stake
· Heavy hammer or Y-post rammer
· Tape measure
· Builders levels (optional – to ensure the post is plumb)
· Small hammer for securing clips
· Ladder (optional)
Instructions:
After the tree is planted…. Install bamboo stake beside tree centrally but avoiding the root ball. Install first Y post from the trunk of the tree, ensure hole section of post is facing towards the tree. For the VT-800, this will be 420mm from the trunk. For the VT-1200 this will be 650mm from the trunk.

Step 1: Paul installing the Y-Post stakes
2. Place sleeve over tree, ensuring drawstring end is at the top. Place wire crimped section of sleeve against holed edge of firmly installed Y post.
3. Install other y-post/s same distance from the trunk of the tree as first post. For the VT-1200, space these evenly around the sleeve. Where possible y-posts should be both even in height and plumb.
4. Fit the clips in the top holes of y-posts. Lift the crimped section of the upper ring and fit into top clip of the first y-post and push in pin to secure. Fit ring into other remaining top clip on other post.
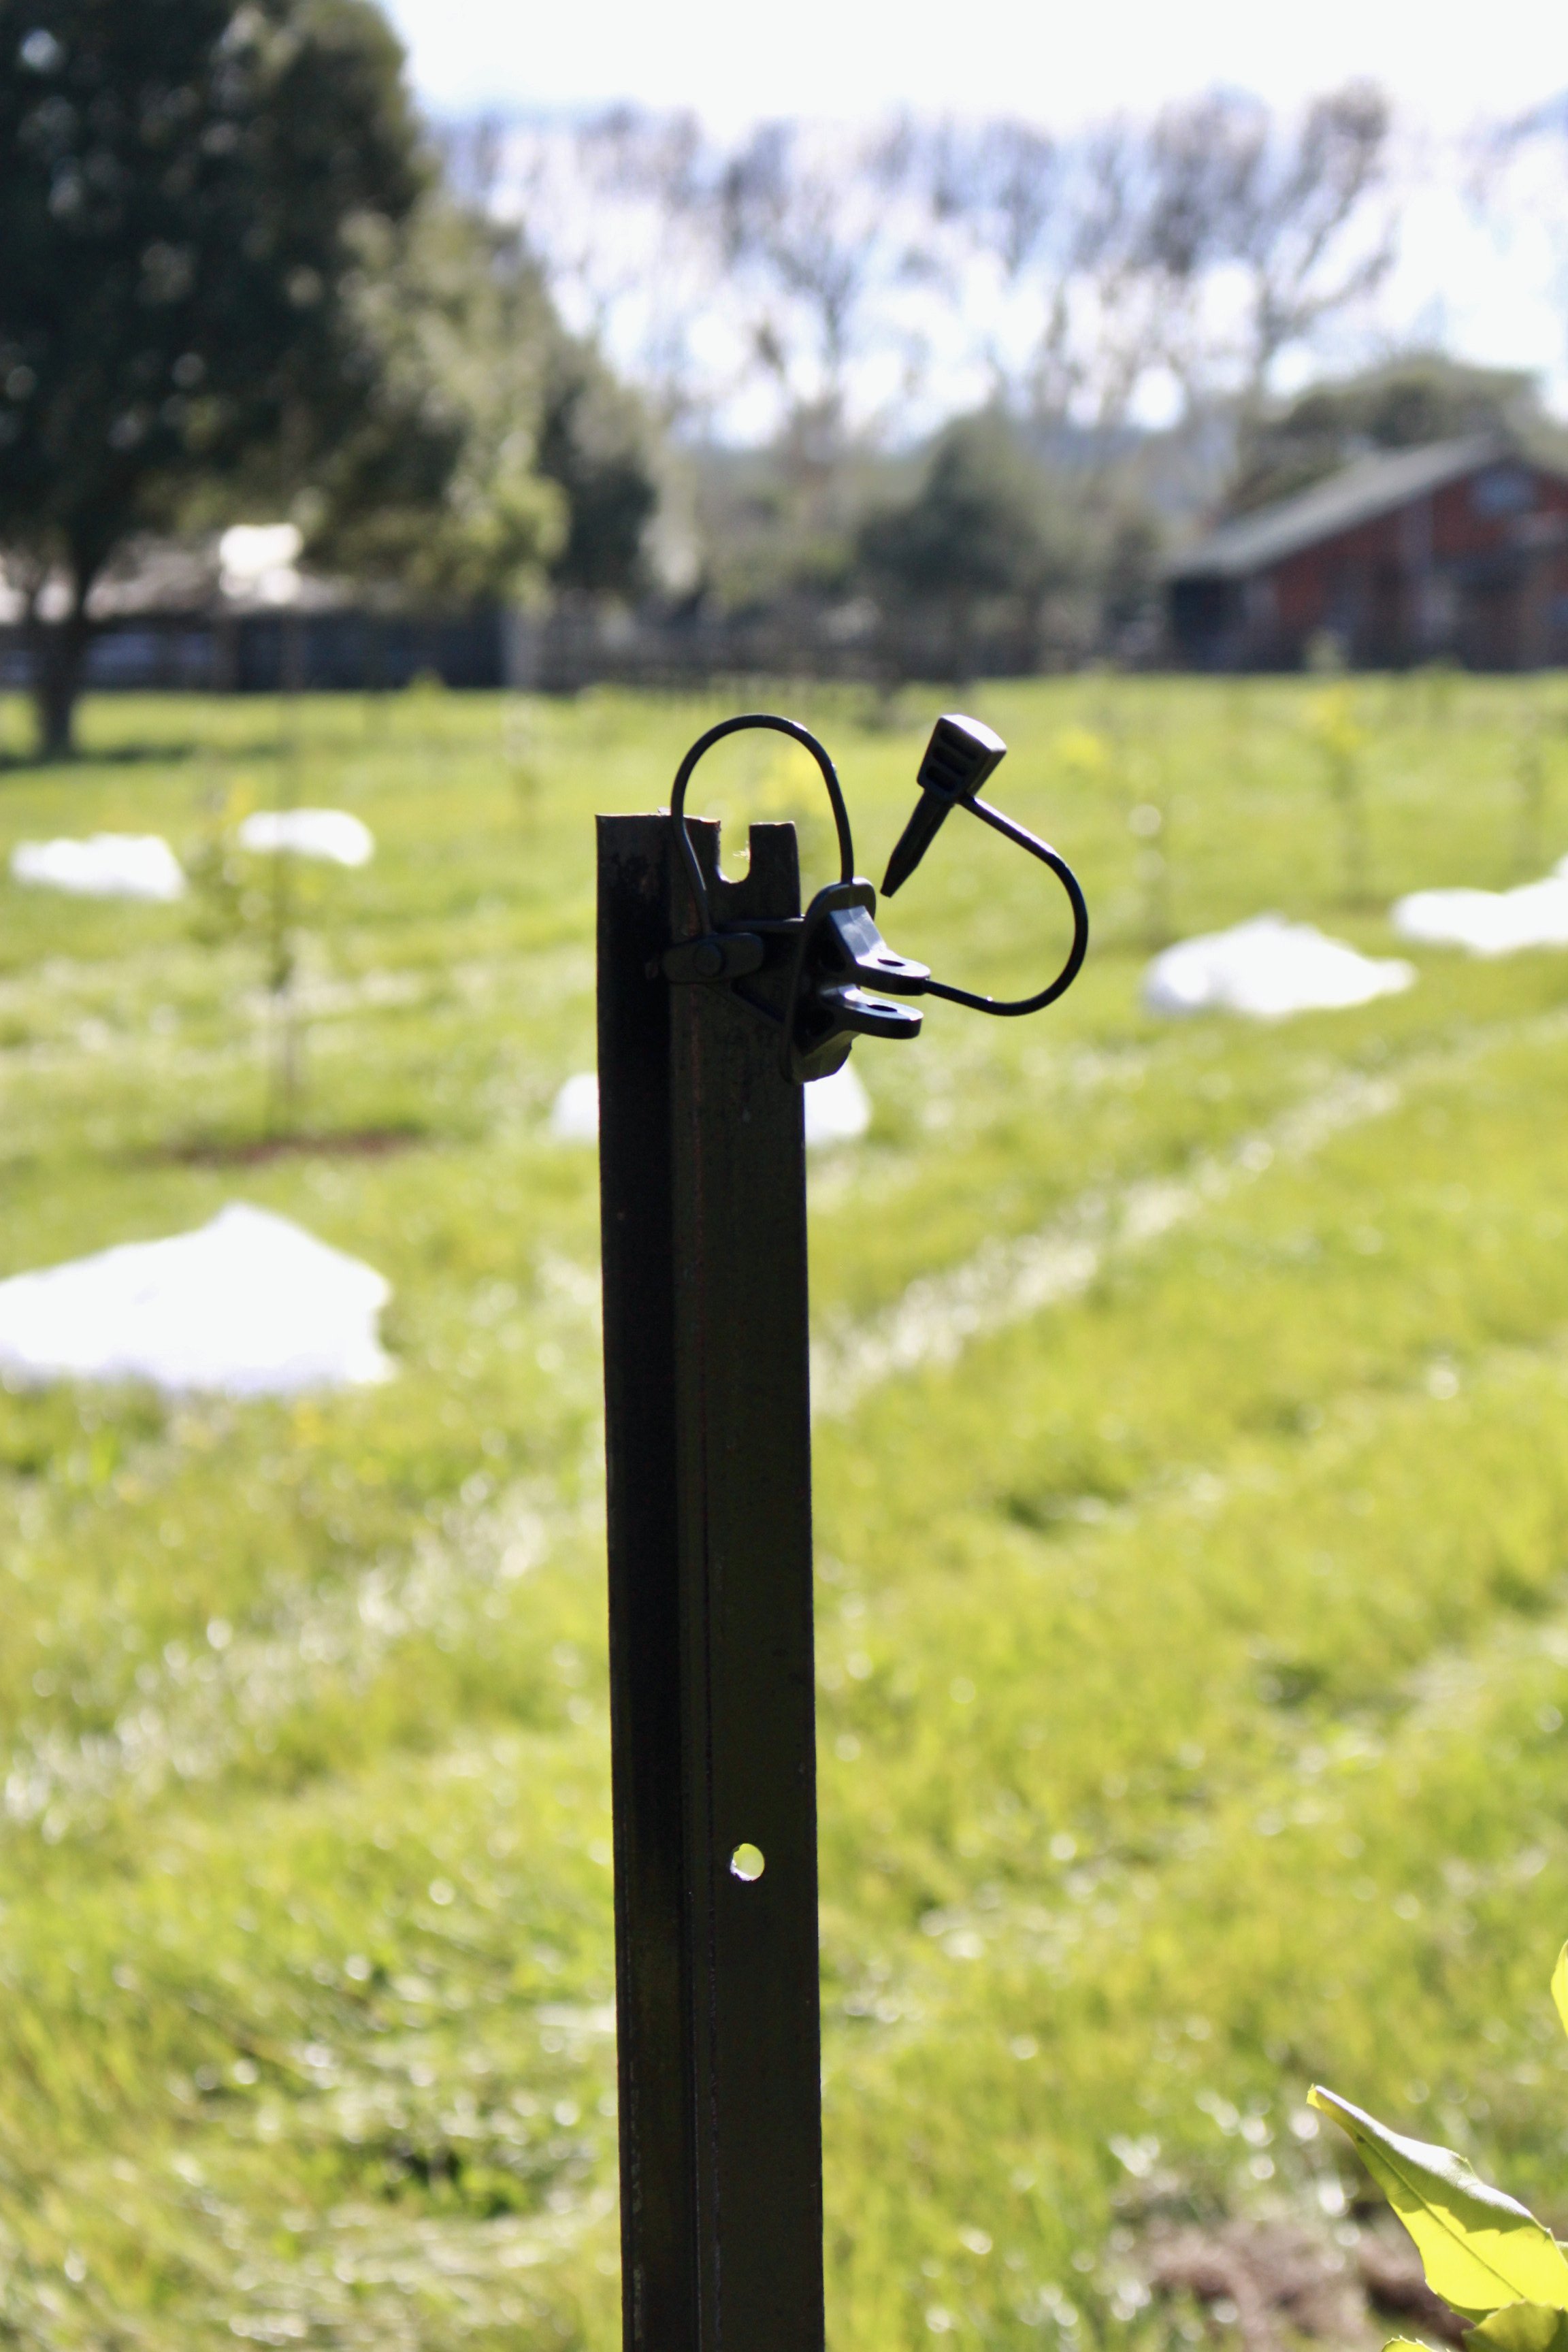
Step 4: Installing the clips to the top of the y-post
5. Fit the bottom ring at crimped section into bottom clip and secure. Fit remaining ring and clips.
6. For additional protection, the hood can be raised, the drawstring gathered in, and secured around the middle stake using a half hitch knot. For a full demo on how to tie this knot click here for a tutorial.

Step 6: the half hitch knot!
Notes:
· If in a windy area, place the first Y post in the path of the prevailing wind for maximum stability of your shelter
· As a guide, use the position of the bottom holes of Y posts to get even depth of installation. Allow for ground clearance of the Vitalitree sleeve if intending to add further mulch to the tree.
· When working close to the tree, unclip the sleeve by tapping out the pin at the Y-post end of clip and then move the sleeve up or down as required.
For a printable version of this installation guide, click the buttons below for the correct size Vitalitree and download for installation on the go.